Diamond Painting Tips for Beginners
Diamond Painting a great new hobby to get into! We try to create an easy to follow diamond painting instructions so that you can tackle your very first diamond painting as a beginner!
What is Diamond Painting?
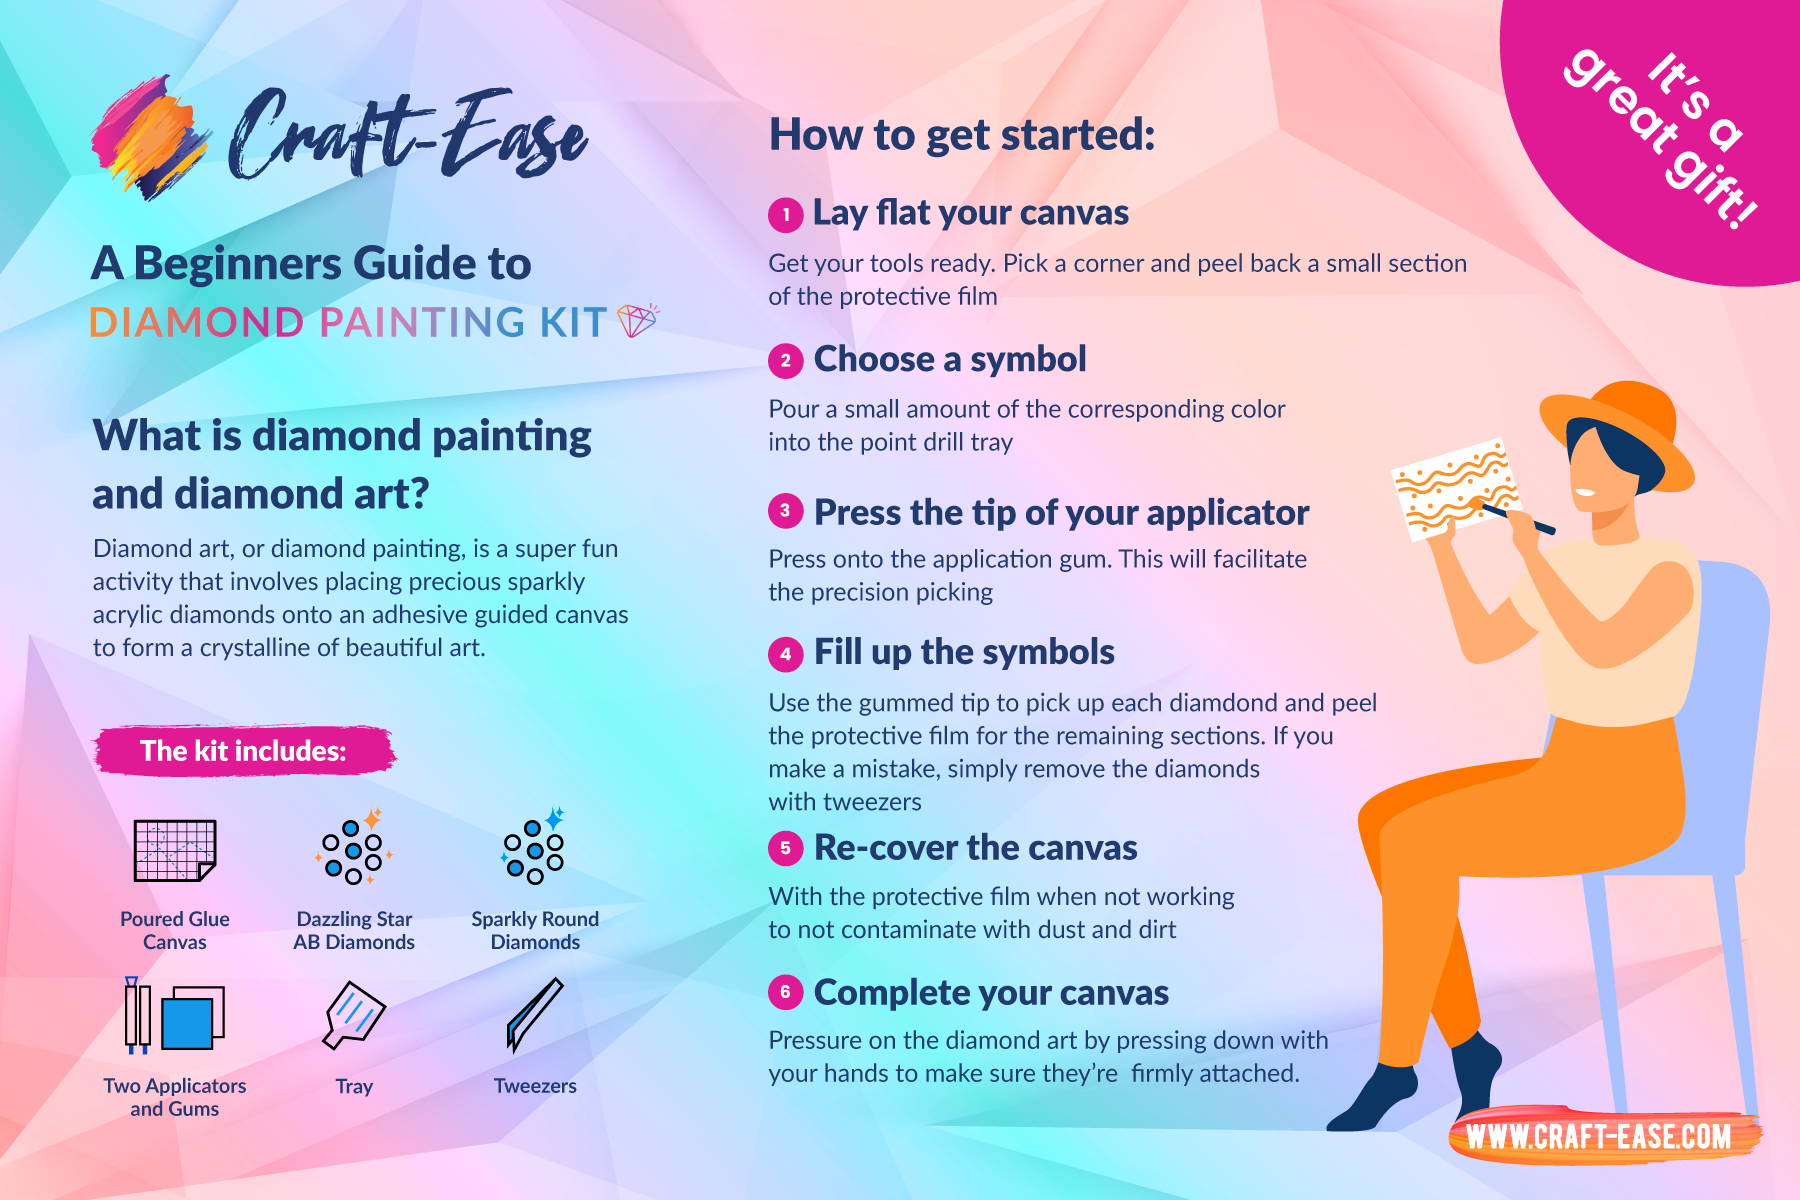
Diamond Painting is often described as a child of a paint by number and cross-stitch. You are given designated color and marked canvas just like paint by number. But the image that you are creating is made out of thousands of tiny squares (or pixels) just like in cross-stitch. With a diamond painting kit, you take out the risk of poking your fingers! If you want to read more about it, you can head on over to our "What is Diamond Painting?" blog post.
Stella from Why Knots Stitches, is a new diamond painter but she is a lifelong crafter! She is here to share her experience and tips with you. This article will give you a detailed breakdown of her tips. Diamond painting is not hard nor is it complicated. But it is a great exercise for patience.
She got our crowd’s favourite: “Dear and Delicate” by Sybile Art.
What you start with
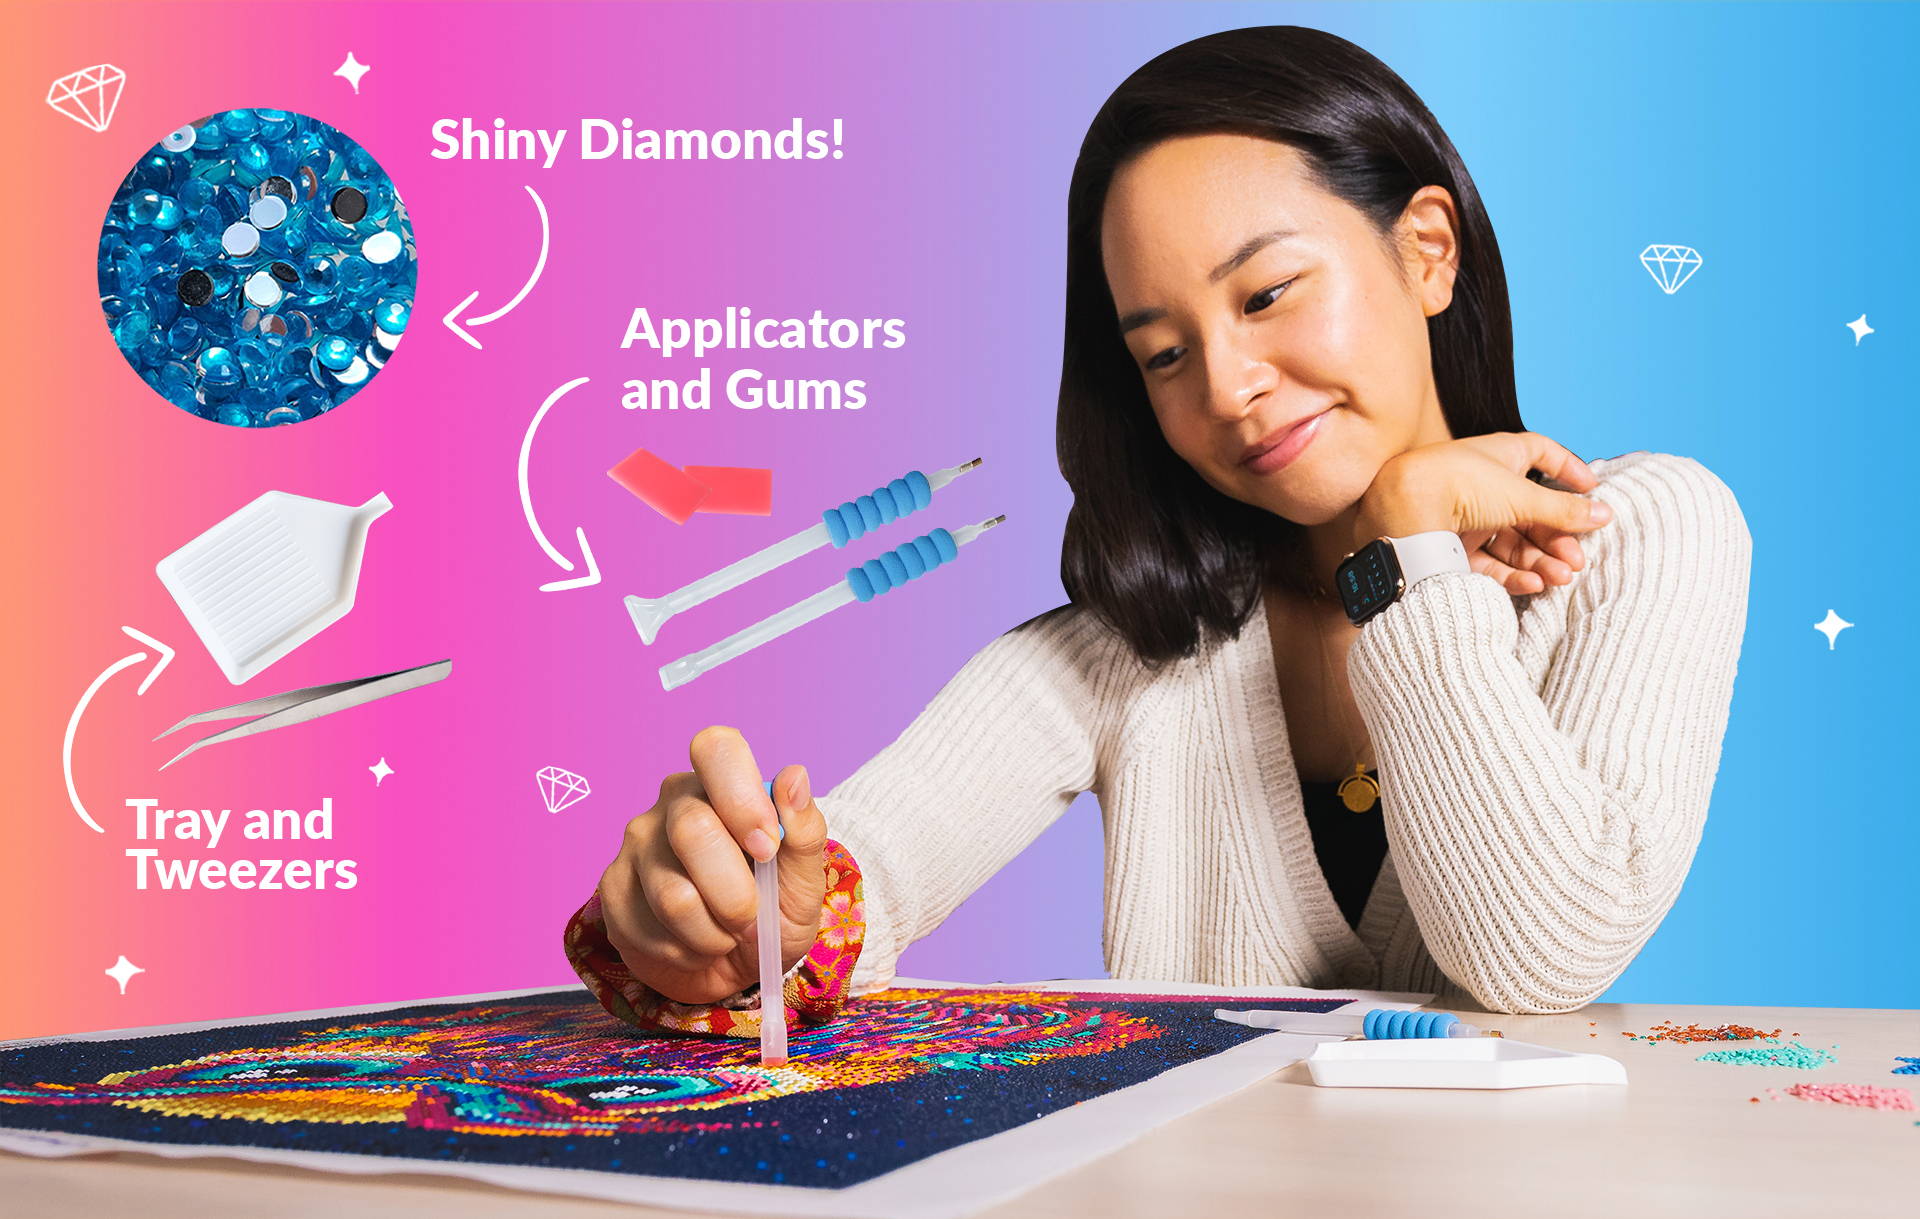
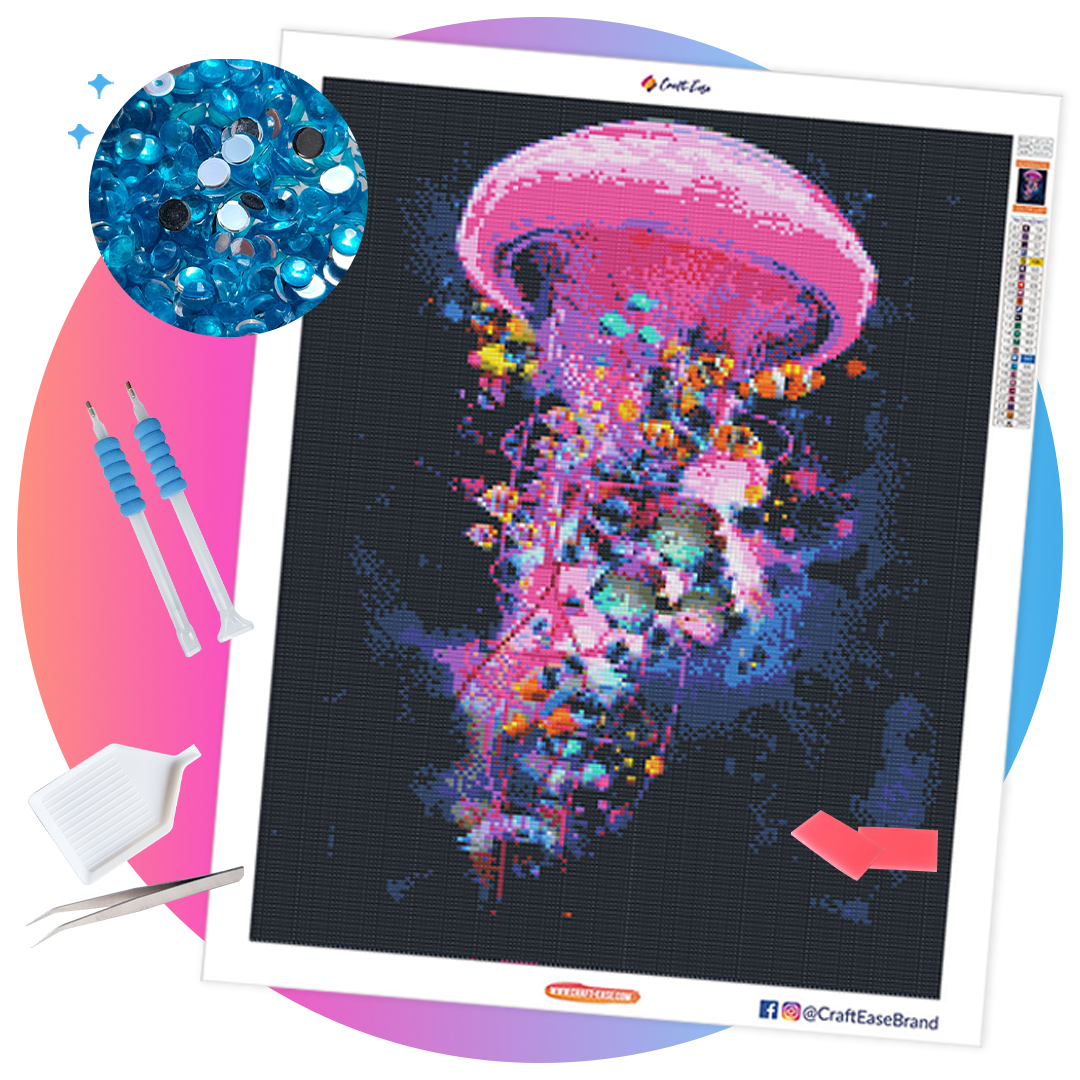
Craft-Ease Diamond Painting Kits give you everything you need to finish a beautiful diamond painting even as a beginner. Let’s go through our tools!
- Poured Glue Canvas - is where you will paste your diamonds! I know the image printed is already pretty, but I assure you it will get better with every diamond you add!
- Diamond pen applicator - This is how you get the diamond to the canvas, the right side up. We include an extra applicator for you as well as a couple of multiplayer mount for you that likes to go fast!
- Applicator Gum - This little pink good is the magic. Ever wonder how the drills can get picked up by the pen? The gum is the answer! This turns the end of the pen sticky enough to pick up the drills, but not so much it fights with the canvas. We gave you enough to spare, so change them often!
- Tray - The little ridges on the tray help you with lining your diamonds right side up, and ready to be picked up!
- Tweezer - Everybody makes mistakes, and that’s fine. Use this tweezer to pluck a diamond that you placed by mistake, or just to neaten up your rows of blings.
The extra things you need.
Not much actually, just a pair of scissors, a medium sized container, and paperclips (or tape). When I was doing my first diamond painting, I used a repurposed plastic take-out box to store my drills and tools.
Start with separating your bags of colored diamond drills, and find a container big enough to keep all of them together. Stella is using a wooden bowl to keep her small packets of diamonds. There are some small plastic containers that you can buy to store your diamonds in a more sturdy place, but we are saving that for when we can already decide that we love doing diamond paintings. Choose something that is large enough to keep your drills as well as your tools!
When you get comfortable with diamond painting, you can start looking into upgrading your tools! Here are some suggestions of things you can get if you want to get more fancy gears!
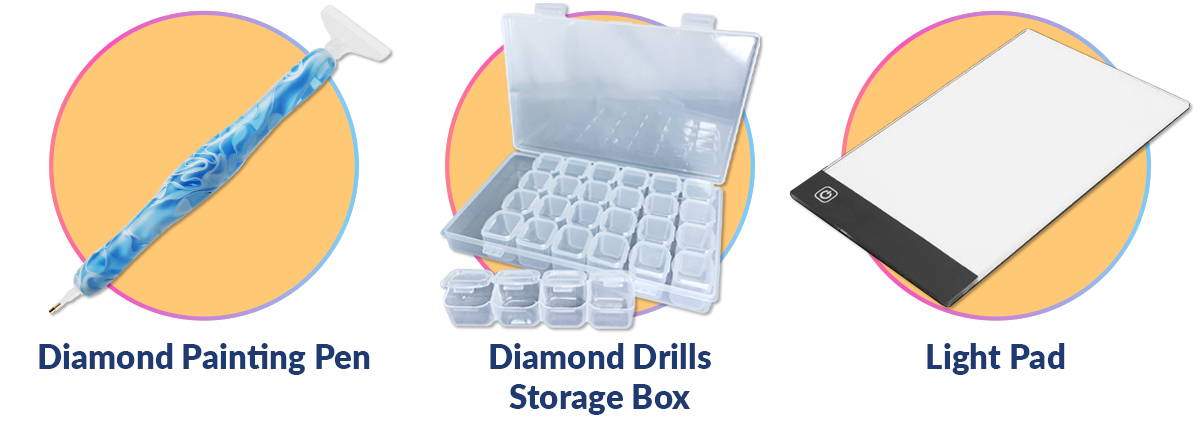
1.Diamond Painting Pen - You get a very standard diamond painting pen included in your kit, this does the job but who can say no to pretty things?! Special diamond painting kit usually comes with a better look, sturdier material as well as a more comfortable grip than the standard ones. We have an acrylic diamond painting pen in 3 pretty colors for you to check out!
2. Diamond Drills Storage Box - If you are sick of paper clipping your bag of diamond drills. OR you are afraid that the flimsy bag might fail you, you can go ahead and buy a box that can store your drills according to its color. So that you can easily take and restore them. We have a compact and neat box you can add to your arsenal!
3. Light Pad - This is not necessary, but it is nice to have. This tool shines on your canvas from below so that it is easier for you to see the symbols that are printed on your canvas. This is really helpful if you are working on a space that does not have the best lighting. There are many types and sizes to light pad.
Keeping your diamonds together!
Keep a pair of scissors handy for you, as tearing the bag open can cause an explosion of diamond drills. And we want to keep the hole small, so that we can keep using the plastic bag. When you are done with one color and want to move to another, you can use a paperclip to close your bag and keep your diamond safe. If you do not have 30 paper clips handy, you can always use a weak adhesive tape. Washi-tape and masking tape works great! Just fold the opened part of the bag and seal them in.
Before you start
Your canvas comes rolled so it’s time to unroll them! Often time, it can be a little stubborn and won’t lay flat. There are a few ways to combat this.
- Partially feel off the protective layer of your canvas and put it back in place. Repeat this on all 4 corners. This should help with with the curling.
- Roll it the opposite way it was rolled in the box.
- Lastly, if it’s stubborn, lay it flat and put weights on the corners overnight!
We dove deeper into how to make sure that your diamond painting canvas is nice and ready for you to start adding diamonds to in our "How to Flatten Diamond Painting Canvas" article. Head on over to find more tips you can try to get rid of pesky wrinkles in your canvas.
Where to start!
If you are right-handed, the top right corner is a good place to start, if you are left-handed, start from the left. We want to avoid putting your hand on the sticky glue before you lay diamonds on it.
To keep the canvas fresh and sticky, work in small sections. Peel the diamond painting protective film little by little. Gently section the protective layer with a scissor or craft knife, to work in small manageable squares.
The edges of the painting can also have some leftover glue that you cannot peel off, so we suggest covering the excess sticky border with some masking tape as well.
Pick a symbol on the canvas and match it to the color! You can check this on your diamond painting symbol charts on the side of your canvas. Then pour a little bit of drills on the tray, you do not want to overload your tray, as it can prevent the drills from lining up properly in the tray. To line up your drills right side up, give your tray a gentle shake.
Lay your diamonds down!
Load up your diamond pen with the pink wax, this will let you pick up the diamonds. When it feels less sticky and you find it hard to pick up diamond, it’s time to refresh your wax, just pull it out with your tweezer and put in new ones. Don’t worry we give you enough wax to finish your painting with plenty to spare!
You have the options to pick up your diamond one by one with the single placer. Or if you are the kind of person that wants to see your diamond painting completed as soon as possible, you can try the multi placer as well. All of these multiplaces has their own tricks on how to use, and it can take a little bit to get used to them.
Then just stick the diamonds to the canvas! Take your time and line up your diamonds. You can use the tweezer to nudge the diamonds to form perfect rows. This is the beauty of poured glue canvas! Moving your diamonds will not damage your painting right away, you can still slide and adjust your drills.
If you made a mistake, don’t panic! That’s why there is a pair of tweezers in your kit. You just need to pluck them one by one, and stick on the correct color! This will not damage your canvas.
Enjoy the quiet time you have placing each diamond. Embrace it when your mind starts to wonder and you let go of the stress you have been holding on to.
Diamond Painting Techniques
Here are some tricks you can do to make sure that your diamonds are laid on the canvas neatly.
Line by Line
When working with one color, the most intuitive way is to pick one corner and paste your diamonds one by one next to one another. This is great, and it does not require a lot of planning.
[img: standard placement of diamonds - maybe a gif]
The Checker Board
By Alternating where you are placing your diamonds, you train your eyes to place the diamonds right in the middle of each designated square. The space you have left in between will be a perfect fit for the next diamonds. This way your diamond drills will be aligned extra well!
[img]
The Multiplacer
Pick up the pace! Grab your multi placer and lay dorn 2-6 diamonds in one go!
The Farm Plot
Divide and Conquer is the name of the game! This is perfect when you are tackling a large area of just one color, split the area into ‘plots’ by lining it up with diamonds first, then fill it in. It helps break down the monotny of a large area.
Enjoy the quiet time learning how to paint with diamonds. Embrace it when your mind starts to wander and you let go of the stress you have been holding on to, let the therapeutic benefits kick in!
3 Easy Steps on How to Paint with Diamonds
For Beginners
Diamond painting is a craft that is quickly growing in popularity among both novices and experienced artists alike. And contrary to what you might be thinking, you don’t need to have put hours of practice into diamond painting in order to end up with stunning results
Best Diamond Painting Quality
Load up your diamond pen with the pink wax, this will let you pick up the diamonds. When it feels less sticky and you find it hard to pick up diamond, it’s time to refresh your wax, just pull it out with your tweezer and put in new ones. Don’t worry we give you enough wax to finish your painting with plenty to spare!
Beginner's Guide to Paint by Numbers
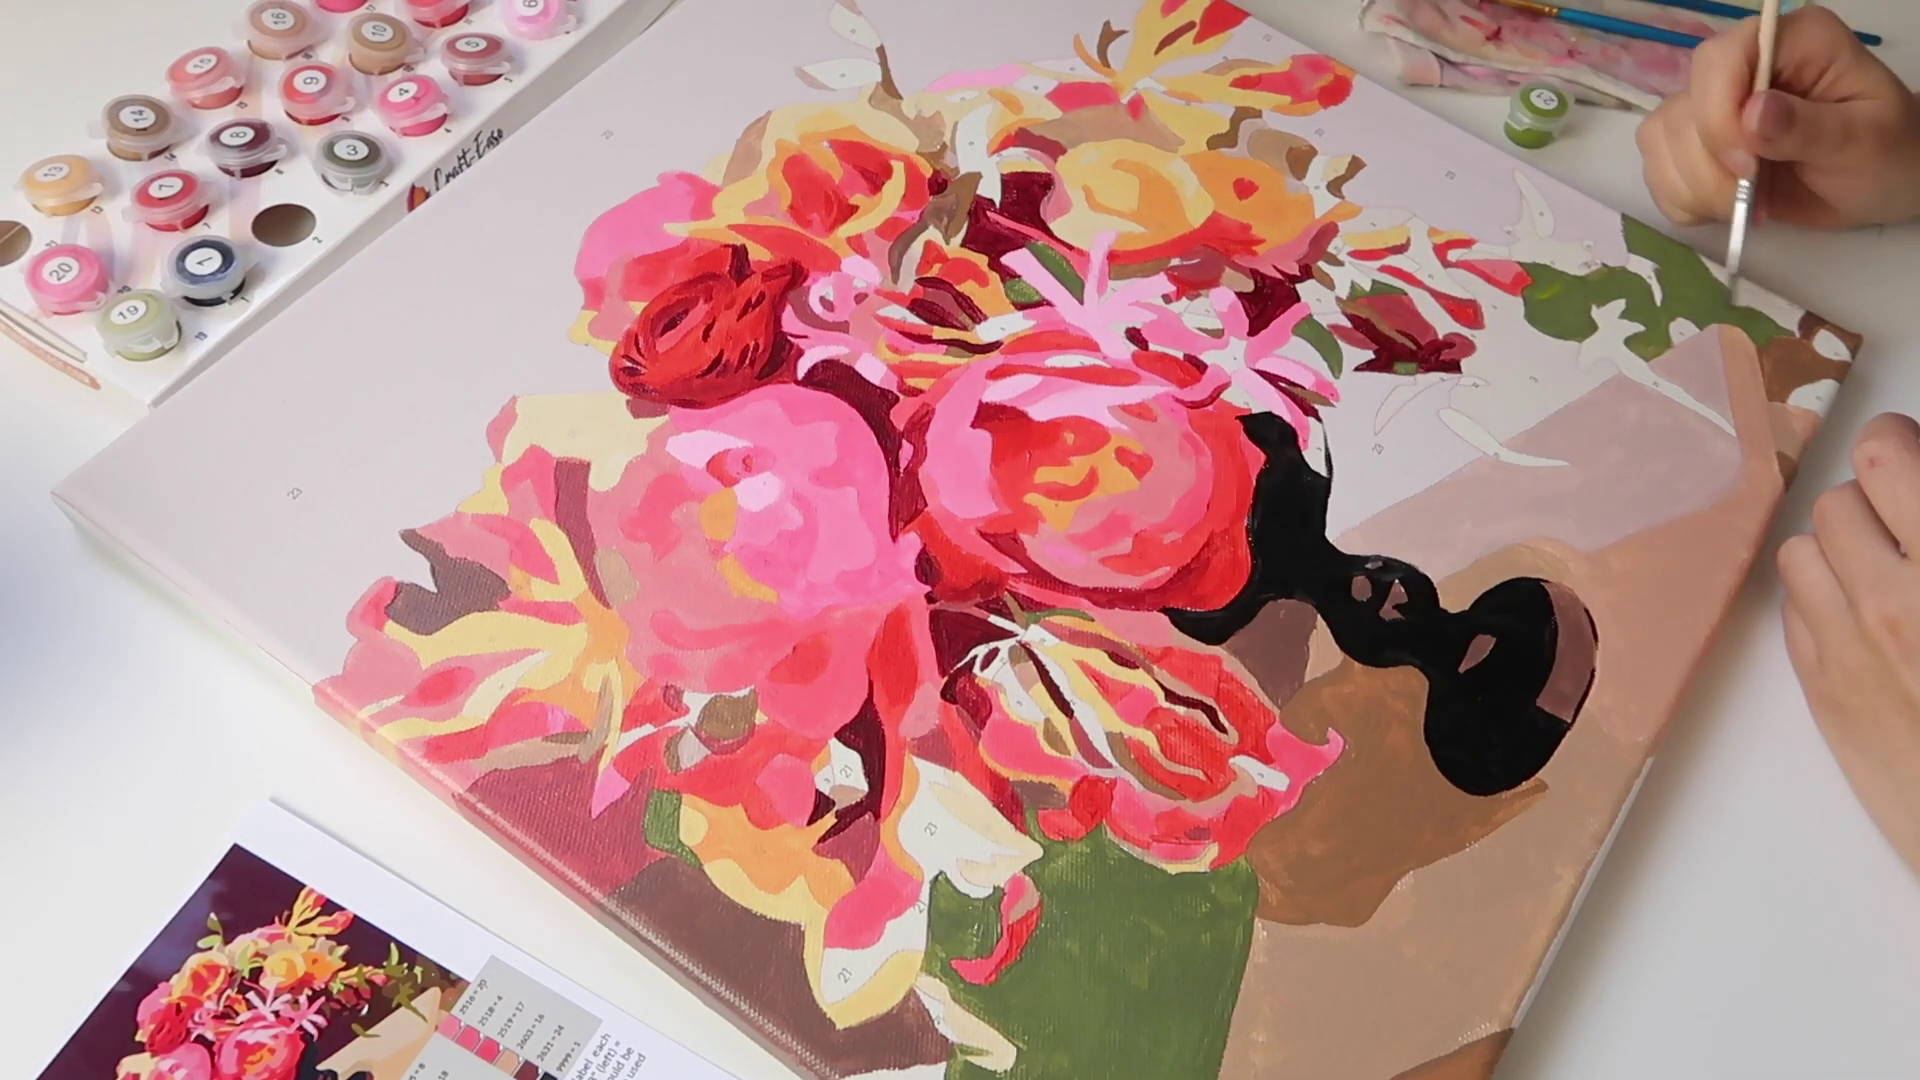
Paint by numbers we have today is nothing like you’ve seen back in the days! We have so many different designs with various levels of challenges. Our kits take away the scary part of the painting and leaving only the fun relaxing parts for you to enjoy. Begin your first step into art therapy at home.

